home about projects services contact

Monday, December 31, 2012

So long 2012…


Today is the last day of 2012…and what a year it has been!


I am so very thankful for all that 2012 has brought in the way of opportunity and blessings!
From starting this blog (on a consistent basis) last January, that has led to new friendships and so much more. Back then, I chose my word of the yearaccomplish


and I am pleased with all that I have been able to accomplish in a mere 12 months. Perhaps not everything on my Home Goals List…but so much to be proud of.

Like seeing my oldest son, Alex, graduate from high school and getting him off to college. Such a bittersweet chapter for me, yet so wonderfully exciting for him…


[image%255B256%255D.png]


I shared my new venture in November that is a long time dream come true…


This is Hip Chick Designs entry, com eon in....
 
Looking forward to seeing where this adventure and new friendship will lead and sharing it all with you!  Thank you all for the comments, tips, ideas, inspiration, laughs, and support!


Pinned Image

More exciting news for January 2013 to come tomorrow…hint: photo #1 in this post!

Have a safe and happy final day of 2012!


Sunday, December 23, 2012

Merry and Happy...


From our home to yours…

Pinned Image


As 2012 comes to a close…I am looking forward to an exciting new year as 2013 begins!
I am signing off for the year and I want to say thank you all for reading, commenting, and supporting me here at Elegant Nest. It has been an inspiring year and I look forward to sharing with you all that is yet to come!


Tuesday, December 18, 2012

3 Wreaths for the Holidays ~ and beyond…


While collecting holiday decorating inspiration, I came upon 3 variations of beautiful wreaths that will last long after the rest of your Christmas décor has been packed up and stored for next year.


I love everything about this festive snowflake inspired door décor! By simply gluing pinecones to a cardboard form that you can cut out from that leftover package received in the mail…you can create a beautiful decoration to be enjoyed in January and all through the winter months.

 
These two square wreaths are so festive and cleverly created from Dollar Store frames and red tissue paper! With their shiny satin bows, they are well suited for the holidays, and I can envision adding a glittery heart ornament that would make them a sweet decoration for February and Valentines Day!


Finally, the above monogram door décor is simple and classic. By bending an old wire hanger and wrapping with either real or faux boxwood sprigs, this beautiful decoration would make the perfect gift that can be enjoyed all year long!

For pictures and more detailed info on how to make these wreaths visit here. I think I will be making all three!


Friday, December 14, 2012

Kitchen Table Holiday Décor…


Dress up your kitchen table with a few simple elements to create a charming centerpiece for the holidays.


image


A glass cloche filled with red ornaments and pinecones, nestled atop a few branches clipped from trees in my backyard. Simple and pretty.

 
image
 
 
I also snipped a few sprigs of color from other plants in my yard and placed them in a simple glass vase to add more color and texture…
 
 
image


image
 
 
I can even add some of my homemade Winter Branches and White Leaves that I made and shared here.


image


How do you like to deck your table for the holidays?


Wednesday, December 12, 2012

Christmas Cards…


Since I have been feeling a bit behind on all things holiday this year, I am happy to have my Christmas Cards made and ready to be addressed and sent!


image
 
 
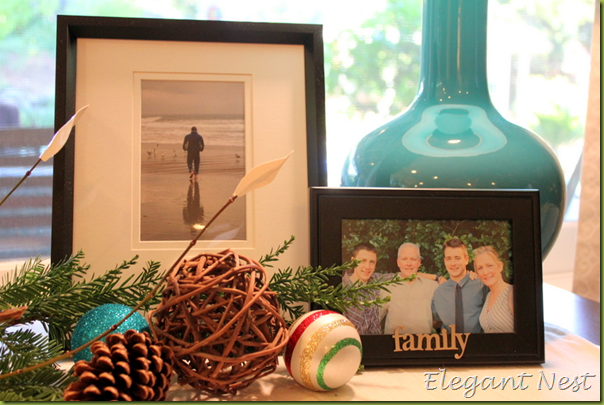
I chose these pictures of my two sons, taken on the day we moved my oldest into his dorm for his freshman year of college. These are my current favorites of the boys, so I decided they will be perfect for our card this year.
 
 
image
 
 
I kept it very simple by just uploading the photos to the Costco website and the cards were ready the next day! They even included these free 2013 Calendar cards…
 
 
image
 
 
So simple! I love being able to do all of your designing and ordering online. There are several great sites that allow you to customize cards for very reasonable prices. Now to just sit down and get them addressed, stamped, and mailed! 


Monday, December 10, 2012

DIY Winter Branches with White Leaves...


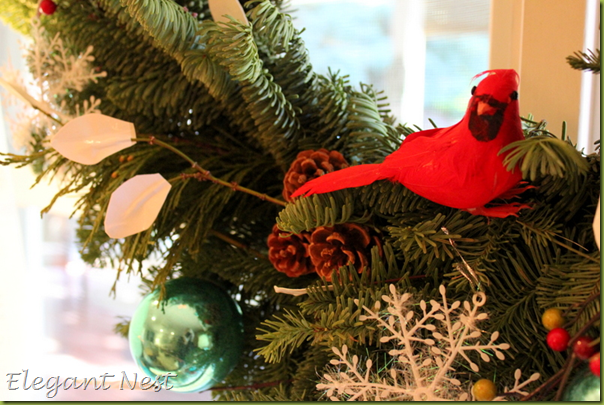
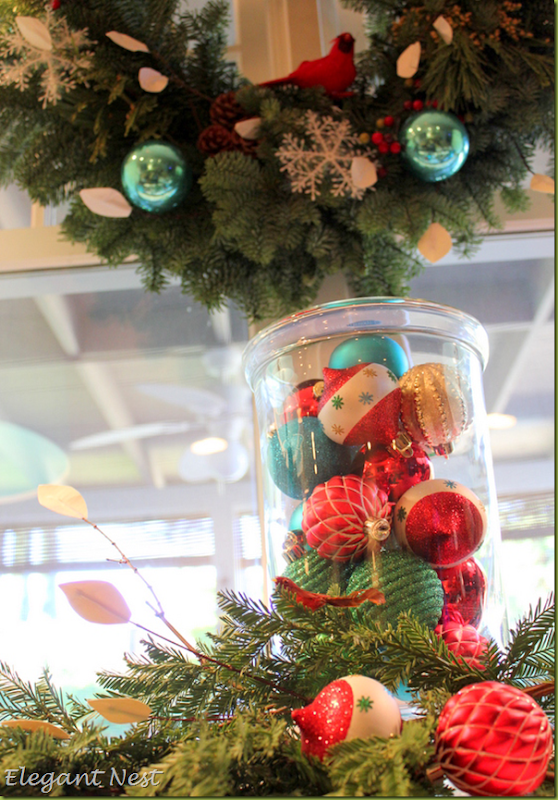
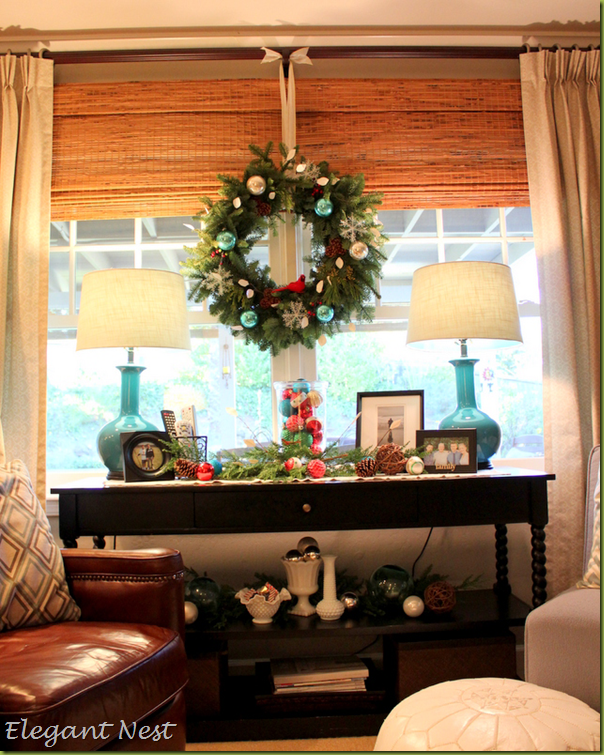
I use several wreaths around my home while decorating for the holidays. This one started out fairly plain with natural greenery and a few faux berry sprigs. After adding just a few elements, I was able to create a much prettier focal point for this holiday vignette.


image


image


As I mentioned in this post, I am using a red, green, and blue color scheme this year. I added some vintage glass balls to my wreath, along with some snowflakes and these homemade winter branches with white leaves...


image


I found this simple craft on The Nesting Place last week, and just had to try it out! Just 3 items and you have the prettiest winter branches with white leaves to use all around your house.
All you need are a few bare branches, white duct tape, and scissors…
 
 
image
 
 
I used Duck Brand white tape for mine. Snip off a strip of tape about 3-4 inches long and place it on the end of the twig…
 
 
image
 
 
Fold strip over. Don’t worry about the wrinkles…that helps it look more natural
 
 
image

 
Fold in half again, then snip with scissors into a half oval shape…
 
 
image


image


image


image
 
 
That’s it! Now you have some pretty, shiny, white winter leaves to add to your wreaths, and garland.
 
 
image


image


image


image


How is your holiday decorating coming along?


Sharing with...Southern Hospitality, My Uncommon Slice of Suburbia, Savvy Southern Style, {Primp}, A Thoughtful Place


Thursday, December 6, 2012

Let the decorating begin…


Last weekend I was out of town at a friends cabin in beautiful Truckee, Ca. near Lake Tahoe. This is an annual “Girls Weekend” which is a pretty good reason to be a little behind on the holiday decorating! It is so nice to get away with some of your best girlfriends to visit, eat, drink, hot tub in a snow flurry, play some games, and just hang out and chat!


image
Cheers!
 
 
So far, I have changed out my chalkboard to a holiday greeting…
 
 
image
 
 
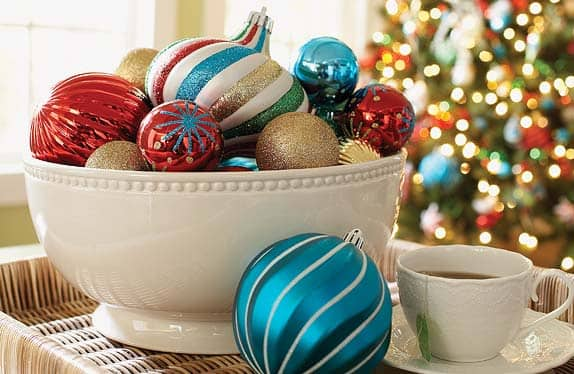
I have also decided to do things a little differently this year. I am using a smaller portion of my holiday decorations, and recently purchased this ornament collection from Home Depot to set my color scheme.


I already use a lot of blue accents in my home and this Martha Stewart collection will work nicely. Now for the next decision…white lights vs. colored lights on the Christmas Tree?


or


I have always used colored lights on our tree. That is the way our family did it growing up and I loved the colored lights with all the unique and different ornaments. However, now I am in the mood for something different and think I will change out to white this year!
 
 
How do you decorate your tree? Are you a colored or white light family?


Thursday, November 29, 2012

Glitter Crowns…


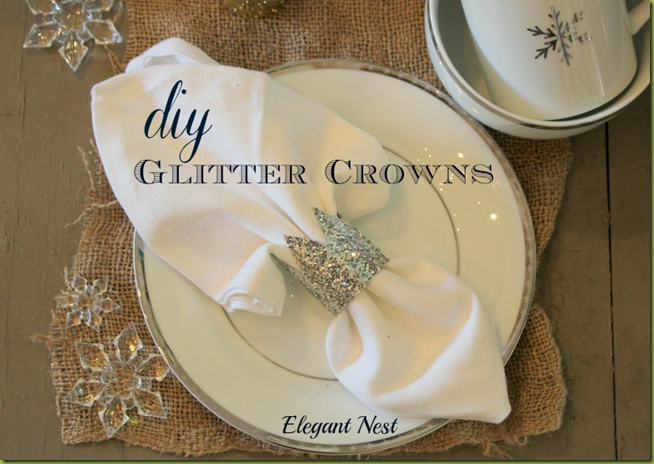
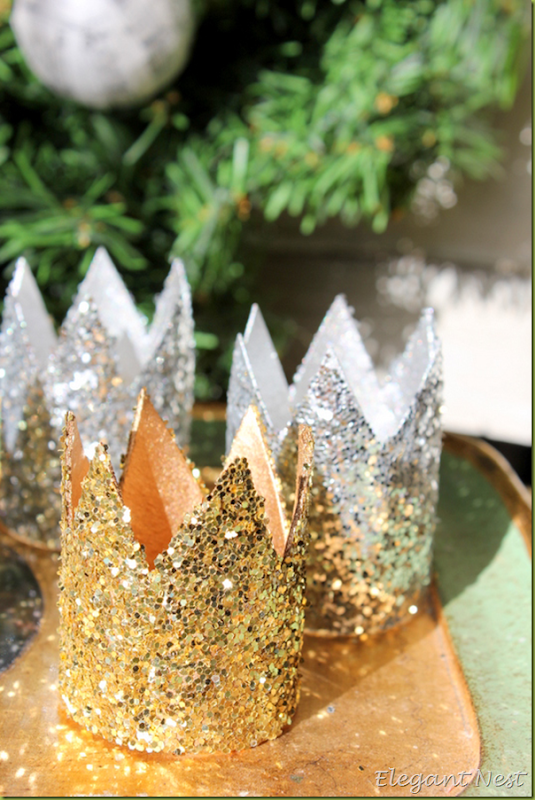
Today I want to share a pretty little project I made recently that is small in size…yet brings a large amount of sparkle to your holiday table!


image
 
 
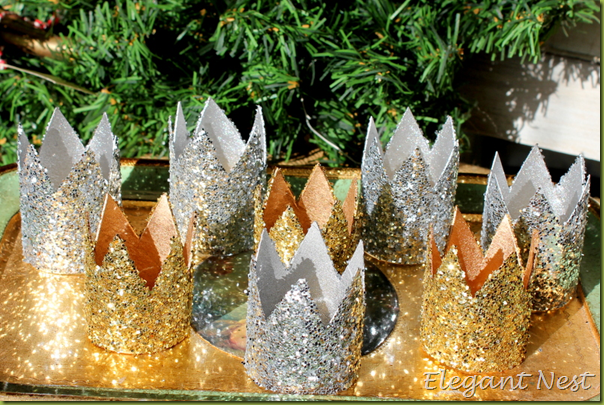
These sparkly Glitter Crowns take just a few items and a few minutes to make!
 
Supplies ~
Several cardboard tubes ~ from paper towels, t.p., wrapping paper, etc.
Gold and Silver Krylon Spraypaint
Mod Podge
Gold and Silver Glitter
 
Start with your cardboard tubes and cut them into 2-3 inch high sections (depending on how tall you want your crowns to be). Then cut the points on each section…you will now have a pile of these…
 
 
image
 
 
Next, spray paint your cardboard crowns ~ be sure to spray the inside of each crown too ~ some silver and some gold…
 
 
image


image
 
 
Now get your Mod Podge and glitter ready…


image
 
 
Lightly paint each crown with the Mod Podge and roll in glitter…
 
 
image


image
 
 
That’s it! You now have some sparkle for your holiday table…
 
 
image
 
 
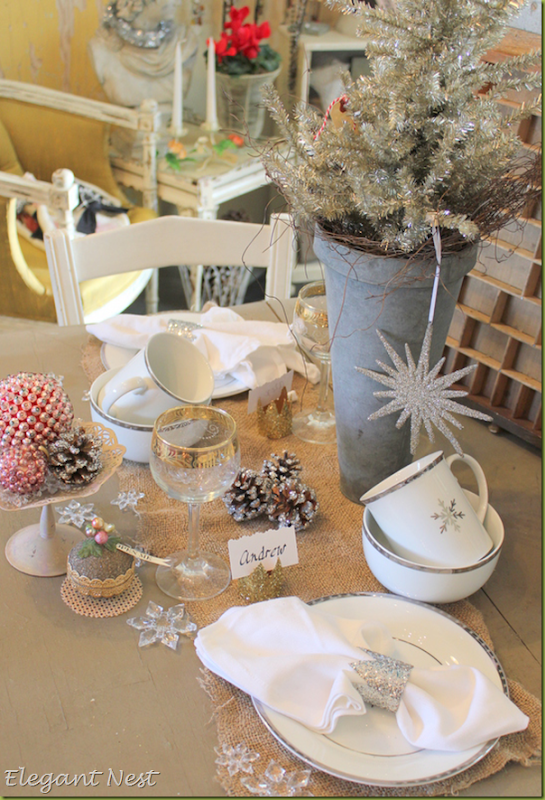
These festive little crowns can be used several ways. As shown above, I used some as napkin rings…
 
 
image


image
 
 
And they are equally cute as place card holders…
 
 
image


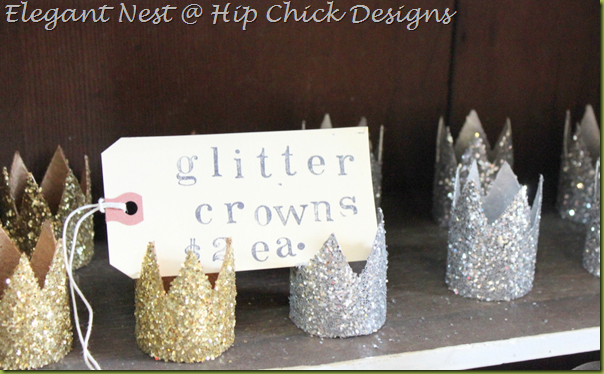
For these photos, I set up a display at our shop Hip Chick Designs, to showcase how nice they will look on your holiday table…


image


image


image


image


image
 
 
If you don’t have time during the busy holiday hussle and bussle to make your own…these gold and silver Glitter Crowns are available at our shop Hip Chick Designs and also through my blog. Visit my contact page, and send me a note for availability and shipping info. I will be happy to send you some sparkle!
 
 
image
 
 
How are you adding the sparkle to your holiday décor?


Sharing with...Uncommon Designs, Savvy Southern Style, Serenity Now, At the Picket Fence, Classy Clutter, Between Naps on the Porch, Hi Sugarplum, Cozy Little House, Beyond the Picket Fence, Centsational Girl, Timewashed


01 09 10