home about projects services contact

Monday, January 30, 2012

Sneeze with Style…


Tis the season to sniffle, sneeze and blow! Yes, we are suffering from a few head colds here in our house, but that does not mean we need to suffer with tacky tissue boxes!


I have always disliked the store bought tissue box designs – although they have come a long way from years past. I just don’t like seeing them set around my house.
So, I am on the hunt for a more decorative and designer approach to help stifle the sniffles with style!


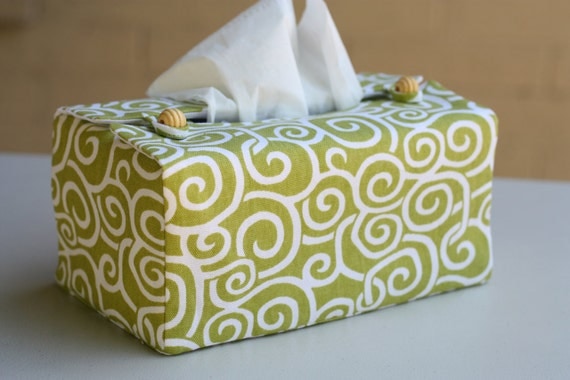
Designer Fabric Tissue Box Cover

DIY tissue box cover


Linen Hemstitch Tissue Box Cover

Well, I did not have to search too far! These pictures show some great alternatives that you can purchase or DIY and customize to match your own décor.

Tiki Head Tissue Box Cover - Black.Opens in a new window

OK…the last one I added just for fun! Ha! This one would have fit perfectly with my post about Fun & Funny Gifts found here.

Happy Monday…Gesundeit!

Friday, January 27, 2012

Enjoy your weekend…


This weekend we are looking for some of this…

Pinned Image
via pinterest

So we can do some of this…


And hopefully none of this…

YIKES!


HAPPY WEEKEND!

Be safe…and have fun!

Wednesday, January 25, 2012

Family Room Window–Love


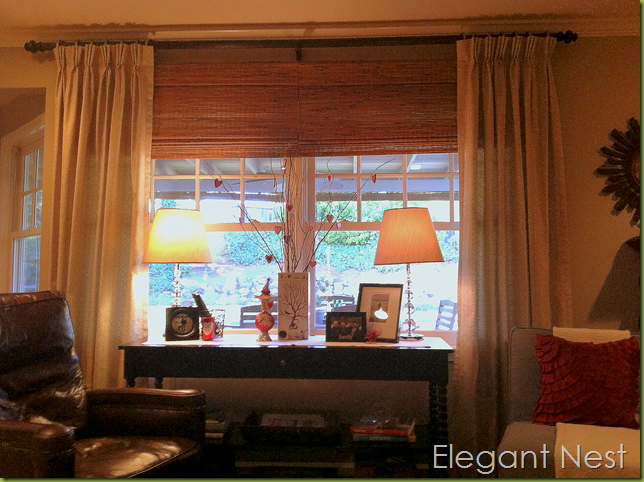
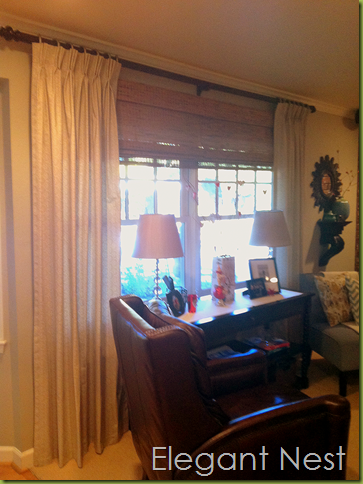
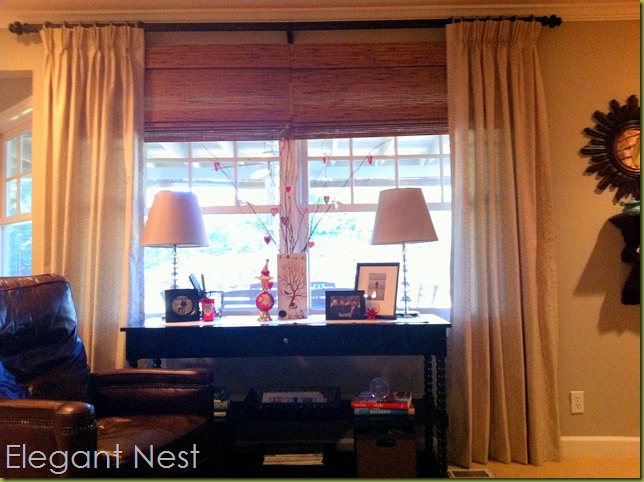
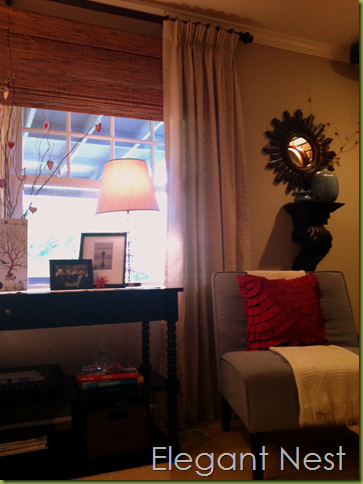
Today – as promised – I am posting my final "after" pictures of my family room window treatment. I had decided to add some drapery panels and bamboo roman shades. I shared some of my inspiration photos here and here.
Now for the finished project…

image

Here is where I apologize for the i-phone pictures…if this does not motivate me to shop for and purchase a new camera (its on my list) then nothing will! Thanks for bearing with me…

image

image

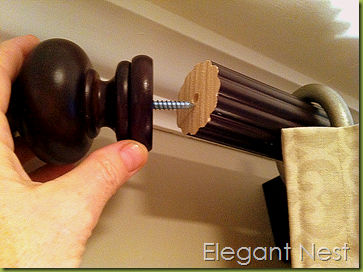
Last night I finished the final touches – adding the finials to the end of the rod…

image

And hemming the drapery panels…

image

image

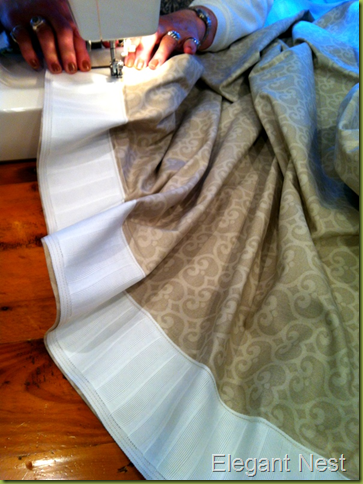
I applied the heat-n-bond tape for the hem while the drapes were still hanging. This is the first time I have used this method when making panels. It was quick and easy…and allowed me to get a very straight and even hemline.

image

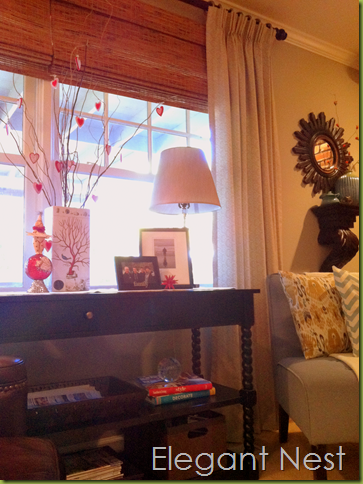
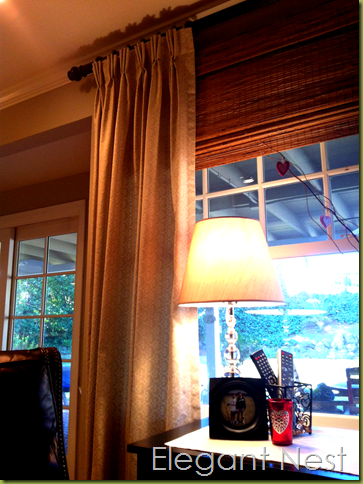
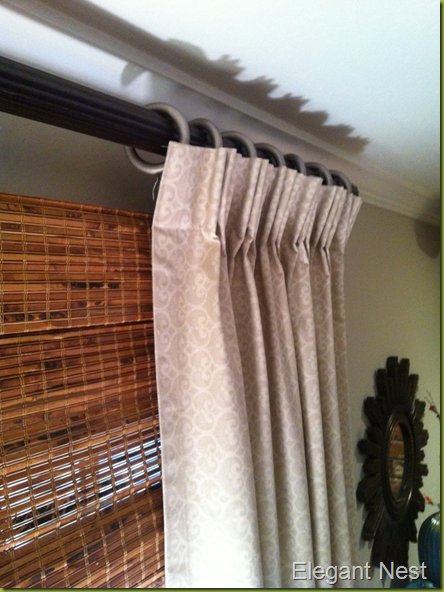
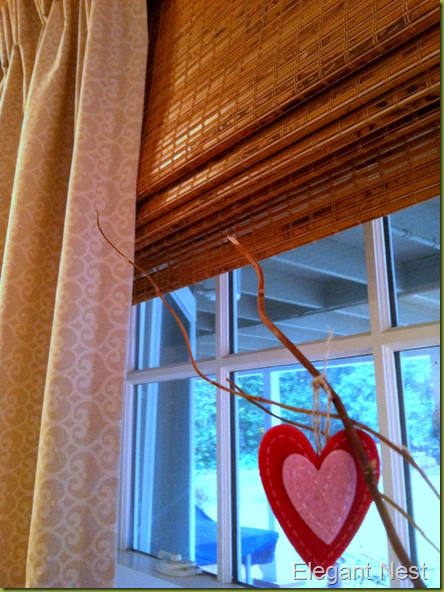
I am very happy with the results. I love the layered look of the drapes over the bamboo roman shades. The whole treatment adds warmth and texture to the room.

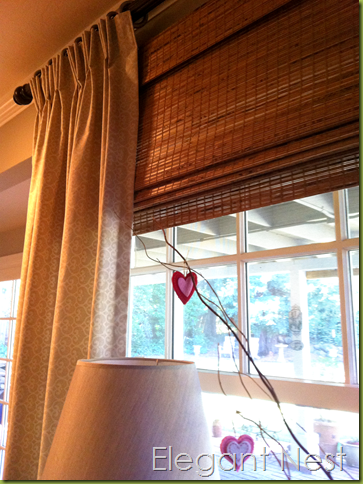
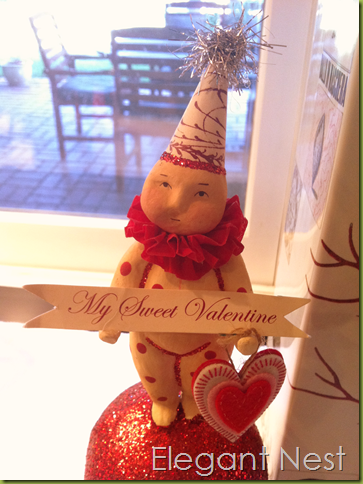
You probably spotted some of my Valentine décor. Actually, this is most all of my Valentine décor. I don’t put too much out…but do love adding some red hearts here and there. I added felt hearts to the branches in my vase and a couple of other red accents to my console table…

image

image

image

image

I am so happy to have accomplished the family room window project…first item to cross off my home goals list that I shared here. I am really in love with the results!

How are you doing on your home goals for 2012…any progress yet?

Monday, January 23, 2012

Square Pouf Ottomans…


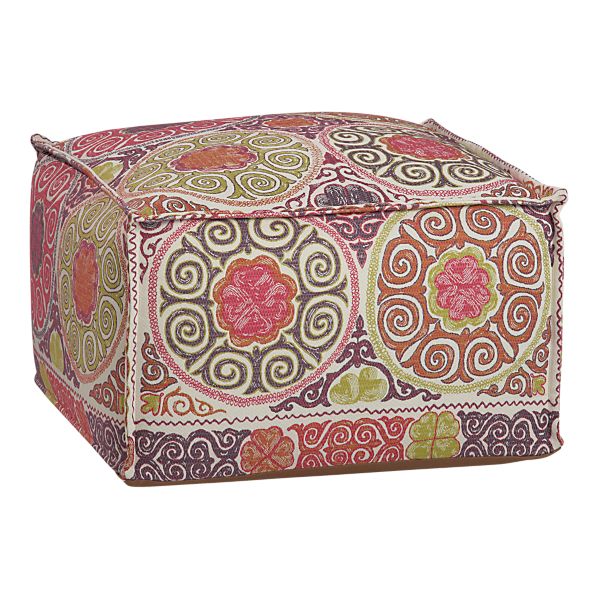
Lately I have seen a lot of these style ottomans in shelter magazines, catalogs, design blogs, and stores.

041110_beanbag.jpg


While standard ottomans tend to be more structured and usually with legs, poufs are actually just big upholstered cushions. They make the perfect squishy foot rest in family rooms or more relaxed living rooms. I like the versatility and ease of moving them around the room to wherever you need to relax and put your feet up.

With an accessory like this, you can afford something a little playful. There are so many designs and styles to choose from. Try a fun bright color, or bold print to add a punch to your room.

Room View
West Elm


I will definitely be shopping for one of these fun and versatile poufs to add to my family room. Perhaps something to coordinate with my new drapes and bamboo shades!

Do you like the look of the square pouf ottoman?
How would you use one in your home decor?

Friday, January 20, 2012

Family Room Window progress…


As promised, here is a progress report on my family room window project.
I decided to add drapery panels and bamboo roman shades as previously shared in my last post seen here. After gathering all of the supplies needed for this task, I did the next most important step…called my Mom and asked if she would come over and help me. Luckily she said “Yes”!

Now, as anyone who has ever done any kind of home project knows…there are always, and I do mean ALWAYS some sort of “issue” that pops us – usually right in the middle of your project. My first issue was with the rings I purchased to hang my panels on the wooden rod.

image

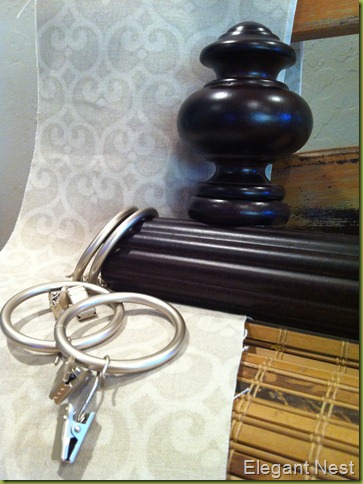
Simply put…they are too small! That’s an issue! Actually, some of them seem to slide on OK – but others are too tight and even scrape off some of the dark finish on the rod when I force them on. Not going to work.
The good news - I happen to have some other rings on hand that I can use. I have been saving these wooden rings from a window treatment I made years ago for another house we previously lived in.

image

However, I really like the look of the metal rings in the aged nickel finish. So time to spray paint…

image

Now they look like this…

image
Perfect!

This little “issue” actually worked out in my favor. I wanted to make the drapery panels pleated for a more custom look – as opposed to the less formal look of straight panels attached with ring clips. And, the clips on the nickel rings were not large enough to hold the thickness of the fabric I am using.
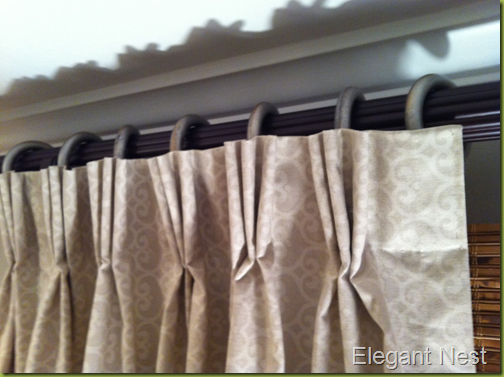
Speaking of pleating…we used pleating tape. This product works wonderfully, and makes pleating the panels so quick and easy…

image

Just sew the tape to the top of your panel…then insert the pleater hooks into the pre-made pockets, and you have beautiful, even pleats…

image

image

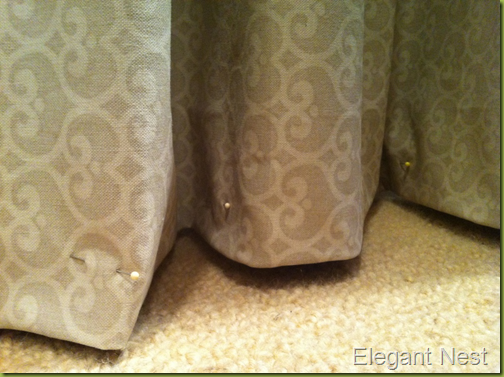
I am really liking the layered look of the panels over the bamboo roman shades. I still have a couple of touches left…including the hem on each panel. It is a good idea to hang your drapes and let them “relax” for a couple of days before hemming. Then you can pin a hem line, while they are hanging, so you will end up with the perfect length…

image

One more peek - before the final “after” photos…

image

I am excited to get this project finished. I can add it to my list of accomplishments – remember my word of the year?

Linking up to the following parties - The Shabby Nest, French Country Cottage, The Charm of Home
At the Picket Fence, Common Ground, 2805, Stuff and Nonsense, Serenity Now


Wednesday, January 18, 2012

Sneak Peek…

 Here is a sneak peak of my current project…the family room window.

028

I previously shared my inspiration photos here. I love the look of fabric panels hung in front of woven wood blinds. Here are some more inspiration shots…
Pinned Image

Pinned Image

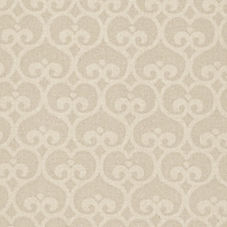
I found this Serena and Lily fabric at a local discount fabric warehouse. You never know what you are going to find…but when you do see something you like, the prices are amazing! The name of this fabric is Spade in the Sand/Putty colorway.

Sand/Putty Spade

The fabric is a heavy weight cotton upholstery fabric – but I am going to use it for my drapery panels. I love the fact that it is nice and thick, which means I will not need to line them. An excellent way to save time and money when you are making your own drapes.

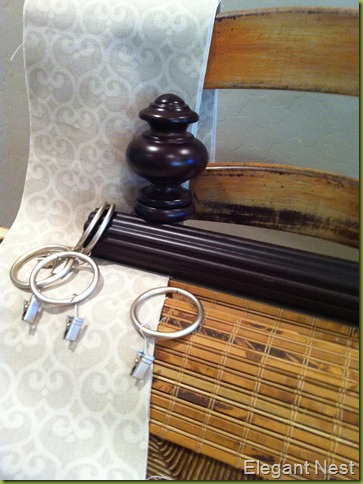
I purchased all of the other supplies at Lowe’s. They have an excellent selection of supplies for window treatments, at very reasonable prices. Here is another look at what I have purchased so far;

022
fabric – check
rod – check
finials – check
curtain rings – check
woven wood blind – check

Now, check back soon for progress and after shots!

Monday, January 16, 2012

The Golden Globes…GLOW


Not only do I love beautiful interior design and décor…I also LOVE fashion!

What better place to see beautiful fashion and style than watching an awards show. Last night on the Golden Globes there was plenty of GLOWING gowns. Some of my favorites were the brightly colored yellow gowns as shown here…
Paula Patton

Seth Rogen’s wife Lauren Miller

Maria Menounos

Following this fashionable trend…I love adding splashes of yellow into home décor to brighten up a living space.

Now this is a BIG splash of yellow. You can add panels to your wall…using wallpaper or even fabric. I love the way they mixed in the black and white zebra print on the classic X benches for a fun and eclectic look.

Pinned Image

Yellow in the bedroom…Yes Please! Whether bold as in this headboard…

Pinned Image

Or more subtle with the yellow bedside lamps and art hung over the bed…

Pinned Image

I love the look of a sliding barn door. This one painted bright yellow looks perfect paired with the gray and white palette…

Pinned Image

If you are not ready for such a large statement, try adding just a touch of yellow accents around the room…

Martha Stewart


source unknown


via Enchanted Home Blog

Taking cues from the glowing gowns on the red carpet…yellow is a fun and energetic color to add to any room in the house.

Do you use yellow in your décor? Share your ideas and inspirations…
 
01 09 10